Step Configurations
When adding steps one after the other, these automatically come with a default behavior:
- the Continue button goes to the next step (if there’s a next step, otherwise finishes the flow)
- the Skip button skips the flow
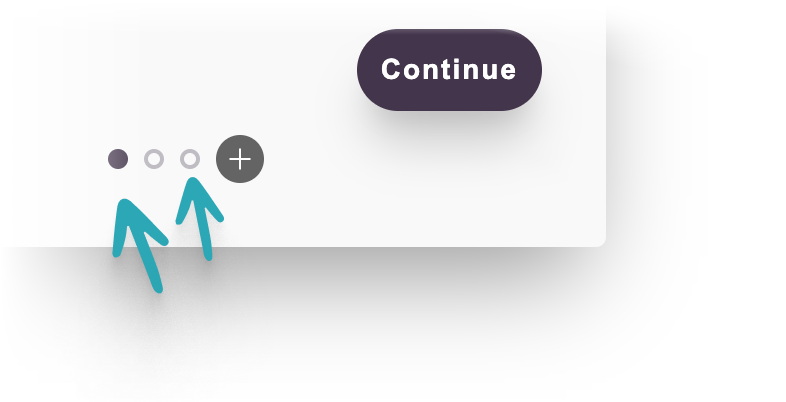
- if there are multiple pages in a popup, the Continue button goes to the next page, if there are any. Then continues to the next step.
However, all these can be configured to make more elaborate product tours.
Button behaviors
You can add as many buttons to each step, as you’d like.
However, new steps have two buttons by default.
To adjust a button’s action (what should happen, when the user clicks on it),
- go to the “Actions” tab in the properties panel
- select the button in the content editor (or choose the one from the dropdown)
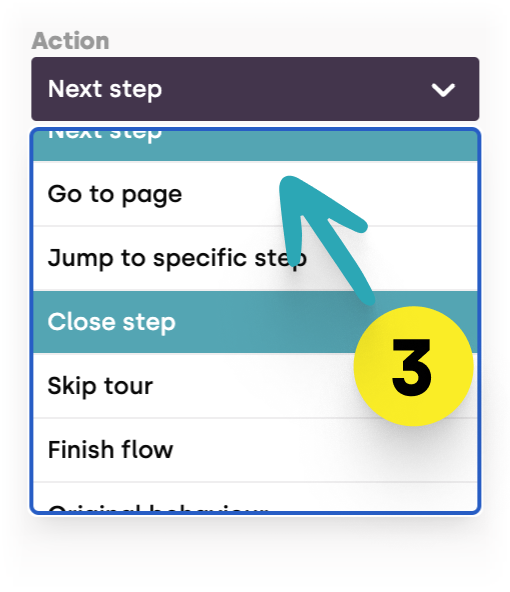
- choose the desired action

These settings are auto-saved.
Next step
This is the most common action.
It simply means that when the user clicks on it, the flow can move on to the next step.
In case it is in a popup with multiple pages, the action will be “next page” until the user reaches the last page.
Bonboarding is prepared for situations when the next step is still not accessible. It can be on a different page, or maybe a highlighted element is still not available. Bonboarding will wait until it can show the next step, and proceed automatically.
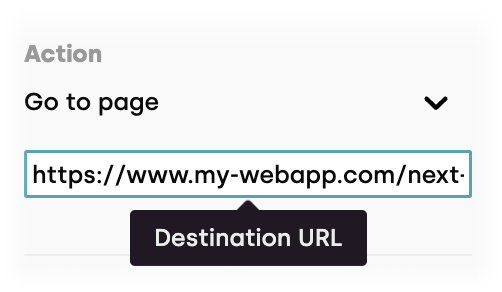
Go to page
If you want to navigate to a new URL when the user clicks on the button, simply select this option and enter the desired URL.
Tip: if you’re highlighting a menu item or a button, and want to navigate to the URL where it originally points, there’s a better action for that: “Original behavior”
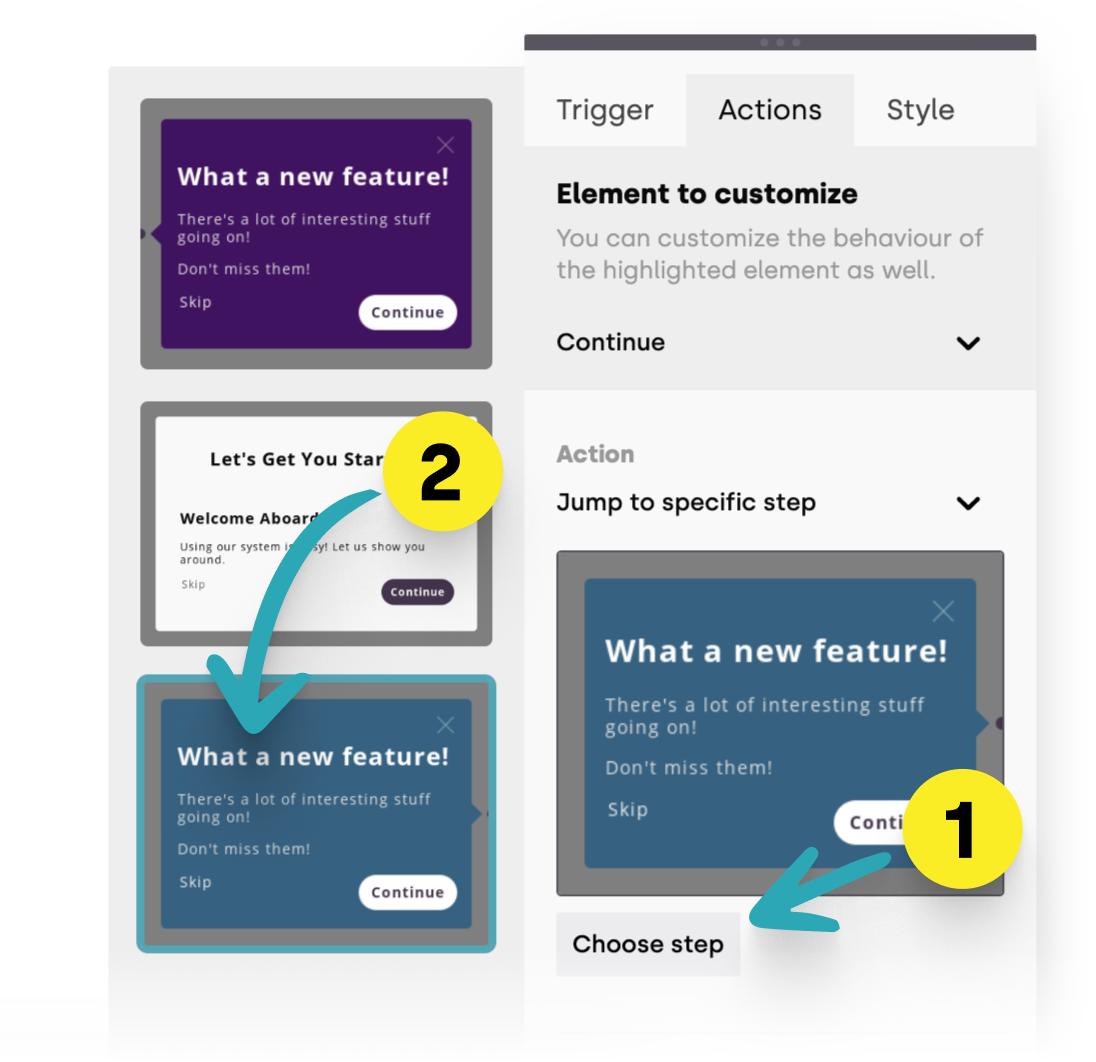
Jump to a specific step
Product tours don’t have to be linear.
Especially, if you have multiple buttons in a step.
You can set them to jump to specific steps, thus creating multiple routes. Just pick the desired next step from the step selector.
Tip: if you want to add multiple routes, make sure to set each route’s last step’s action as “Finish flow”
Close step
This action closes the step and terminates the flow for the current session.
However, it doesn’t mark the flow as finished or skipped. So when the user comes back next time, the flow will play again (from the beginning, or starting from the last step, based on your flow settings).
This action matches the behavior of the close (X) button in your step’s top-right corner.
Skip tour
When the user clicks on this button, they terminate the flow with a “skip” event.
The flow will not start again, even in the next sessions (unless you specifically configured it to restart in every session).
Finish tour
When the user clicks on this button, they terminate the flow with a “finish” event.
The flow will not start again, even in the next sessions (unless you specifically configured it to restart in every session).
You don’t need to set this on your last step’s “Continue” button - the default “Next step” action will behave exactly like this.
However, it’s recommended to choose this action for steps with multiple paths (at the last step of each path).
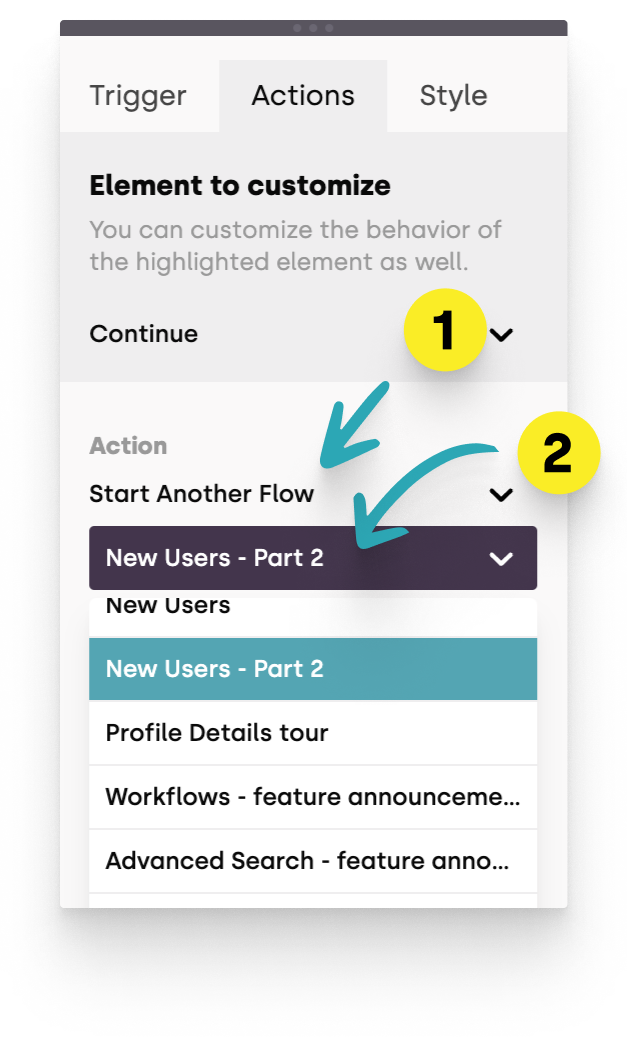
Start Another Flow
This action allows you to start another flow when the user clicks on the button.
You can choose the flow from the dropdown, and the new flow will start from the first step.
Good to know: Bonboarding will finish the current flow, and start the new one immediately.
It will "force start" it, ignoring all other targeting rules.
However, it will not start inactive or draft flows.
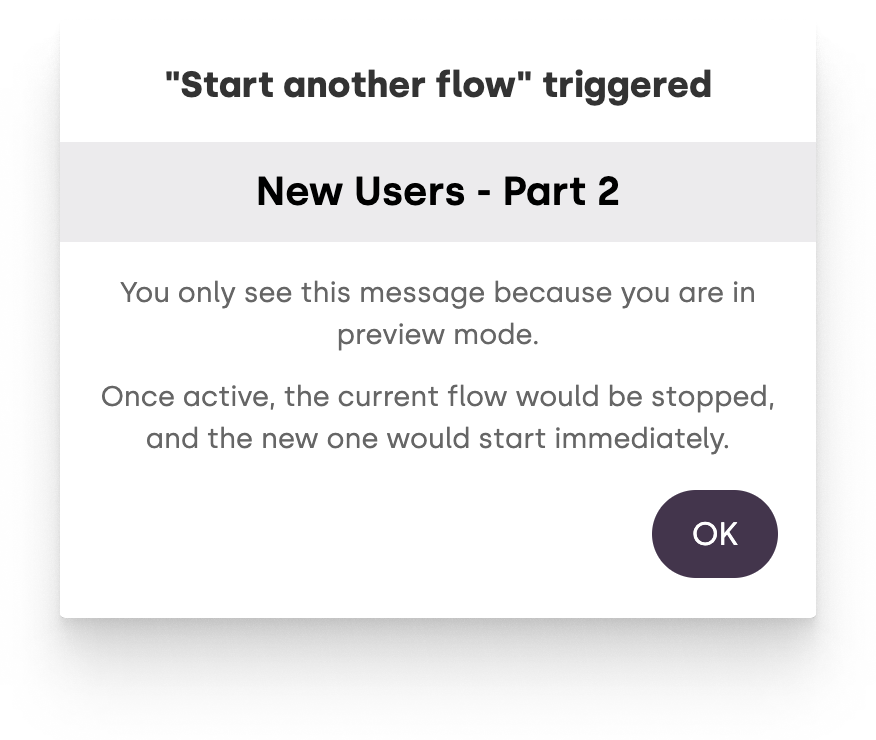
While you're editing your flow and test in in Preview mode, Bonboarding will not start the new flow but rather show a message that it will start the flow in the live environment:
Original behavior
This option is only available in highlights (not popups).
It triggers the original behavior of the highlighted element (eg. the selected button, menu item, etc. from your web app).
This is useful, if you want your “Continue” button to execute the click on the highlighted button, so your user can interact with your web app (eg. open a link, add a new item, open dropdown etc.)
Besides executing the original behavior, it also moves the flow to the next step.
Highlighted Element’s Behaviour
If you’re highlighting an element, you can also change the action on the element that you highlighted.
Just choose the “Highlighted Element” from the dropdown in the Actions tab, and adjust the actions as needed.
Note, that if you update the action to the highlighted element, it will override its original behavior.
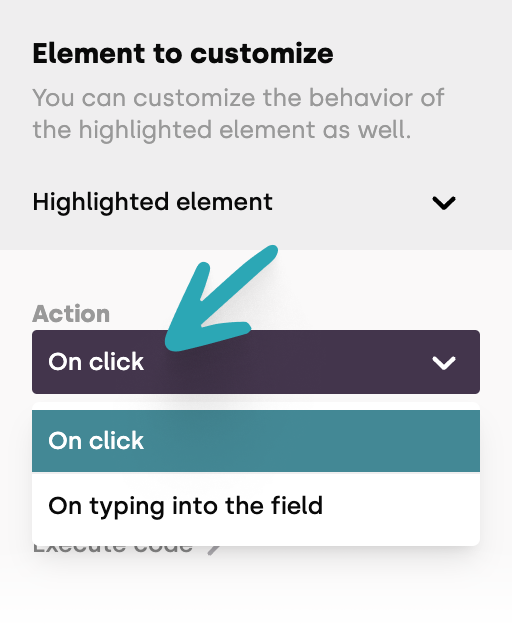
Triggering Event for Highlighted Element’s Action
You can set the action to trigger on different events:
- Click: the action will be triggered when the user clicks on the highlighted element
- Type: the action will be triggered when the user types in the highlighted input field
For this to work, the highlighted element must be an input field or text area
You can use this, when you want to move to the next step, when the user clicks on the selected button, or types into the selected input field.
Input Field Interaction
When users interact with text fields or text areas in your flow, you have full control over what happens next.
By default, text fields are read-only – users can click on them but cannot type. However, you can easily modify this behavior.
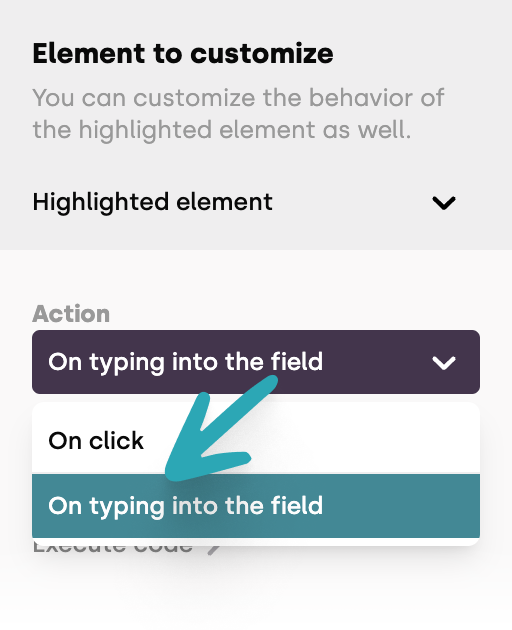
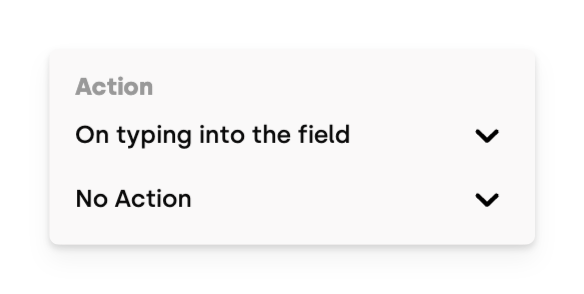
To enable typing and define what happens afterward:
- First select "highlighted element" (under the Actions properties tab).
- Then, choose "On typing into the field" as your trigger action.
You can configure various responses – from advancing to the next step to completing the entire flow.
Tip: Don't worry about accidental triggers; Bonboarding intelligently waits one second after the last keystroke before executing any action, ensuring users have finished typing.
Typing Without Triggering an Action
If you simply want to allow typing without triggering any subsequent behaviors, select "No Action" from the options menu.
Execute a Custom Script
With every button, you have the option to execute a JavaScript code besides the selected action.
Just open the dropdown and add the script to execute.

The form auto-saves, and you can test the custom script while previewing your flow.
Working with Steps
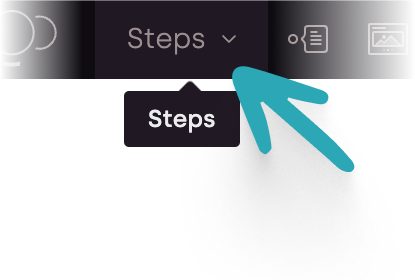
To access the list of the steps you created, click on the Steps button (you can close the Steps panel by clicking on the Steps button again).
The steps contain a preview thumbnail. Sometimes it takes a few moments to generate these thumbnails, especially after editing steps with graphical content.
Rearranging Steps
The Steps panel contains all your steps in order. However, sometimes you might want to change their order.
You can do it by simply dragging the step by the ![]() icon, and moving it to the desired position.
icon, and moving it to the desired position.
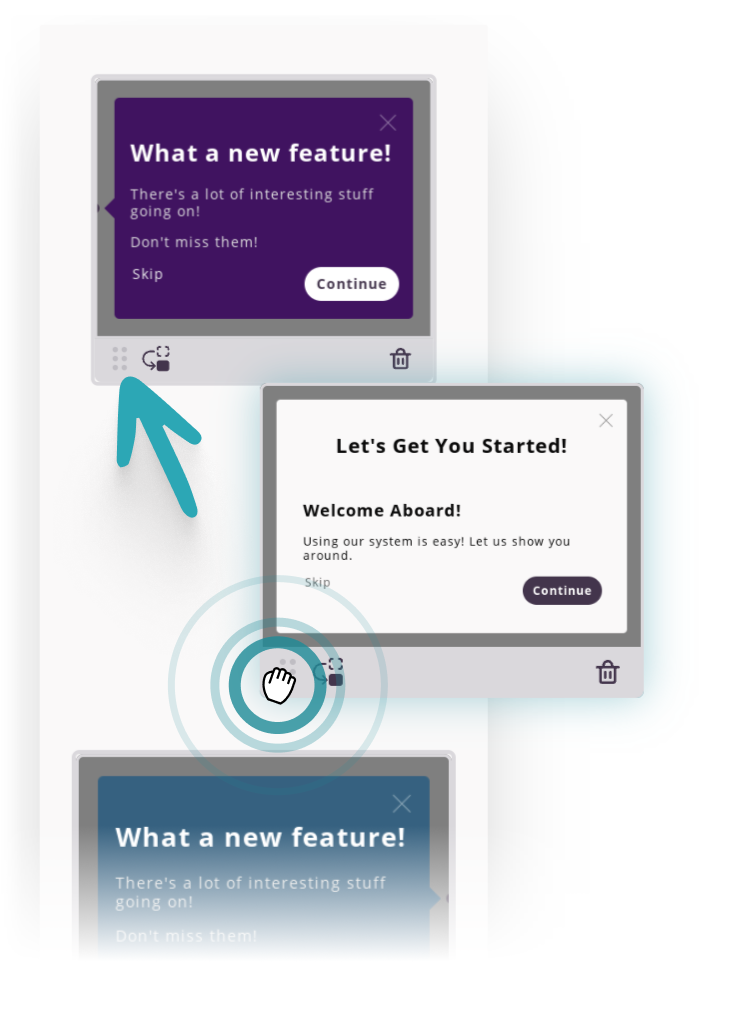
We recommend that you preview your flow after reordering the steps, to make sure it stays consistent.
Removing a Step
Each step has a ![]() icon.
icon.
Clicking on it will remove the step immediately, without a confirmation.
So be careful, when deleting steps.