Installation
Before your users can experience the onboarding flows and product tours you've created, you need to install Bonboarding's snippet into your web application.
Bonboarding.js is a small JavaScript library (really, only 4.3 kB), so it doesn't impact your page load speed.
And it's super easy to install. Here's how.
Step 1. Installation Methods
Bonboarding supports two primary installation methods:
- Web apps using module bundlers: For apps built with Webpack, Rollup, or similar.
- Manual installation: For generic websites, apps not using module bundlers or those that prefer an HTML snippet installation.
Are you using Google Tag Manager or WordPress? We have specific guides for those too!
Step 2A. Installation from NPM
The easiest way to install Bonboarding is through NPM.
Run this command in your terminal:
npm install bonboardingThen, import and use Bonboarding in your app:
Replace BB_API_KEY with your Bonboarding API key that you can find in your integration page.
Passing the current user's details is optional, but it's highly recommended so you can personalize the onboarding experience, and target the right users with the right content.
Step 2B. Manual Installation
If you're not using a module bundler, you can install Bonboarding by adding the following snippet to your website's HTML (somewhere in the <head> tag works best):
Replace BB_API_KEY with your Bonboarding API key that you can find in your integration page.
It's also highly recommended to pass the current user's details so you can personalize the onboarding experience, and target the right users with the right content:
(replace the placeholders with the actual user details)
Check a full example HTML
Step 3. Verify Installation
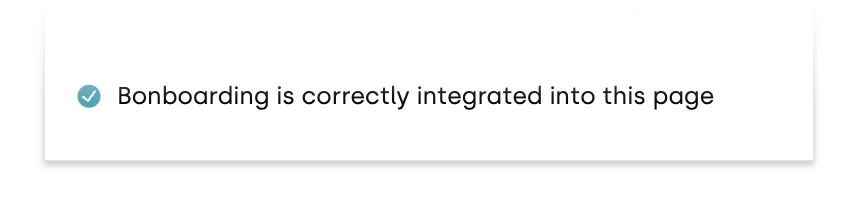
Once you've installed the Bonboarding snippet, you can verify that it's working by opening your website and opening the Bonboarding Studio browser extension.
If everything is set up correctly, you should see a checkmark at the bottom of the popup:
Otherwise, you'll see an error message with details about the issue:

Recommendations
Only install the Bonboarding snippet on pages where you want to show onboarding flows, to minimize your Monthly Active Users (MAU) count.
It is recommended to only include it on your pages where the user is logged in, and not on your public-facing pages.
Using with React
If you're using React, you can use the NPM installation method and then use the useEffect hook to initialize Bonboarding and identify the user.
import React, { useEffect } from 'react';
import Bonboarding from 'bonboarding';

function App() {
  useEffect(() => {
    Bonboarding.init('BB_API_KEY');
    Bonboarding.identify({
      uniqueID: 'UNIQUE_ID',
      firstName: 'FIRST_NAME',
      lastName: 'LAST_NAME',
      email: 'EMAIL',
      signUpDate: 'SIGN_UP_DATE',
    });
  }, []);

  return (
    <div>
      {/* Your app */}
    </div>
  );
}
For a detailed guide on integrating Bonboarding with your React application, refer to the React Integration Guide.