Angular Integration
This guide will walk you through the process of integrating Bonboarding with your Angular application. Bonboarding is a powerful tool designed to help you create stunning onboarding experiences and interactive walkthroughs for your web app, ensuring no user is lost to confusion.
We've created a demo Angular project to showcase the integration.
You can find the repository here: Angular Integration Demo for Bonboarding
Integration Steps
-
Install the Bonboarding package
First, install the Bonboarding package using npm:
npm install bonboarding-
Import and Initialize Bonboarding
In your Angular component where you want to initialize Bonboarding (typically in a component that wraps all logged-in pages), import and initialize the Bonboarding package:
import Bonboarding from 'bonboarding';

@Component({
  // ... your component metadata
})
export class LayoutComponent implements OnInit {
  ngOnInit() {
    Bonboarding.init('YOUR_API_KEY');
  }
}
Replace 'YOUR_API_KEY' with your actual API key from the Bonboarding dashboard.
-
Identify Users
After initializing, identify your users to personalize their onboarding experience:
Bonboarding.identify({
  firstName: user.firstName,
  lastName: user.lastName,
  email: user.email,
  uniqueID: user.id,
  signUpDate: user.signUpDate
});
Make sure to replace the properties with actual user data from your application.
-
Integrate with Authentication
Ensure that Bonboarding is only initialized for logged-in users. You can do this in your authentication guard or in a component that's only rendered for authenticated users.
Example Integration
Here's an example of how the integration might look in an Angular component:
import { Component, OnInit } from '@angular/core';
import Bonboarding from 'bonboarding';
import { UserService } from '../services/user.service';

@Component({
  selector: 'app-layout',
  template:
    // Your component template

})
export class LayoutComponent implements OnInit {
  constructor(private userService: UserService) {}

  ngOnInit() {
    // Initialize Bonboarding
    Bonboarding.init('YOUR_API_KEY');

    // Identify the user
    const user = this.userService.getCurrentUser();
    Bonboarding.identify({
      firstName: user.firstName,
      lastName: user.lastName,
      email: user.email,
      uniqueID: user.id,
      signUpDate: user.signUpDate
    });
  }
}
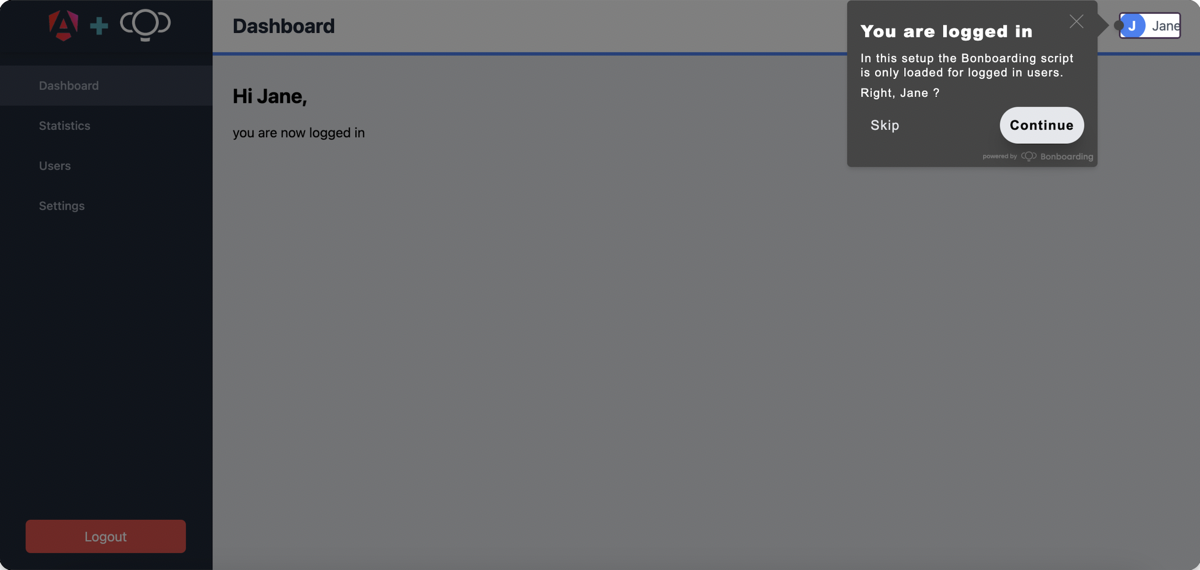
Testing the Integration
We've created a demo Angular project to showcase the integration.
You can find the repository here: Angular Integration Demo for Bonboarding
To test your integration:
- Clone the demo repository
- Run
npm installto install dependencies - Run
ng serveto start the development server - Navigate to
http://localhost:4200/ - Log in with any username and password
- You should see a quick tour of the app, created with Bonboarding
Note: The demo product tour will only play on your development server. For production, please use your own API key.
Further Help
If you need any assistance with the integration or have any questions, please don't hesitate to reach out to us at [email protected] or visit our website at bonboarding.com.
Remember to replace 'YOUR_API_KEY' with your actual Bonboarding API key in your production code, and ensure you're passing real user data to the identify method.
Happy onboarding!